I discovered this little trick a year ago and it was immensely helpful. So far, whenever I was working on my Android apps, I had to connect it to my laptop with a USB cable. The USB cable is annoying and limits my movements. Consequently, I was researching, if there is an option to do the debugging over WiFi.
Luckily, there is a super simple way! All you need is a USB cable (for the initial setup) and have both devices in the same network. The screenshots in the following section are from my MacBook Pro, but it works on any operating system.
Steps to Revolutionize your Android Coding Experience
You need to connect your device to your computer via USB cable. Make sure USB debugging is working. You can check if it shows up when running
adb devices.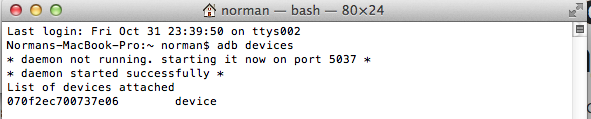
Run
adb tcpip 5555
Disconnect your device (remove the USB cable).
Go to the Settings -> About phone -> Status to view the IP address of your phone.
Run
adb connect <IP address of your device>:5555
If you run
adb devicesagain, you should see your device.
Now you can execute adb commands or use your favorite IDE for android development - wireless!
Do I Have to Repeat the Process Every Time?
Now you might ask, what do I have to do when I move into a different work space and change WiFi networks? You do not have to repeat steps 1 to 3 (these set your phone into WiFi-debug mode). You do have to connect to your phone again by executing steps 4 to 6.
Unfortunately, the android phones lose the WiFi-debug mode when restarting. Thus, if your battery died, you have to start over. Otherwise, if you keep an eye on your battery and do not restart your phone, you can live without a cable for weeks!
Happy wireless coding!