Load balancing a great method to reduce latency, improve resource utilization and ultimately increase fault-tolerance. If you already use nginx as a reverse proxy, you can easily update your configuration to enable load balancing functionality for your application.
This guide shows you how to configure nginx to forward requests to a group of servers instead of passing requests to a single one.
nginx Series Overview
- How To Install the Newest Version of Nginx on Ubuntu
- How to Run GitLab with Self-Signed SSL Certificate
- How to Fix Reponse Status 0 (Worker Process Exited on Signal 11)
- Redirect Only Root URL Path
- Remove an App/Domain from Sites-Enabled
- How to Serve a Static HTML Page
- Is Running but Not Serving Sites
- How to Fix Unknown "connection_upgrade" Variable
- How to Use Nginx as a Load Balancer
- Advanced Configuration
Preparation
If you didn’t configure nginx for load balancing before, use a Vagrant box to get started. We used the following Vagrantfile to bootstrap an initial Ubuntu box. During Vagrant’s provision phase, we install nginx and Node.js.
Vagrant.configure(2) do |config|
  config.vm.box = "ubuntu/trusty64"
  config.vm.network "forwarded_port", guest: 80, host: 8080
  config.vm.network "private_network", ip: "192.168.33.10"

  config.vm.provision "shell", inline: <<-SHELL
    sudo apt-get update
    sudo add-apt-repository ppa:nginx/stable
    sudo apt-get install -y software-properties-common
    sudo apt-get update
    sudo apt-get install -y nginx

    curl -sL https://deb.nodesource.com/setup | sudo bash -
    sudo apt-get install -y nodejs
  SHELL
end
Besides the initial provisioning, we forward port 80 of the box to 8080 on your host machine. By default, nginx binds to port 80 to listen for every HTTP traffic and that’s why we forward to your host machine. Besides that, you can just use a private network to bind your Vagrant box to a given IP address. If you use the private_network option, you can use this IP directly within your browser to test the functionality.
Start Multiple Node Servers
Before heading towards the nginx configuration, we need to boot our cluster to handle incoming requests and response respectively. For our cluster setup, we use basic Node.js servers which start on different ports. You can find the code to start a single Node.js server on the startpage of Node.js.
Create a new file and copy/paste the following content into your new file. We choose to name the file servers.js.
servers.js
var http = require('http');

function startServer(host, port) {
  http.createServer(function (req, res) {
    res.writeHead(200, {'Content-Type': 'text/plain'});
    res.end('Nice to meet you at ' + host + ':' + port);
  }).listen(port, host);

  console.log('Warming up your server at ' + host + ':' + port);
}

startServer('localhost', 3000);
startServer('localhost', 3001);
startServer('localhost', 3002);
We wrapped the code to kick off the single Node.js server into a method and call this method 3 times. The method expects two parameters: host and port. Since we use the same host, we need to run the servers on different ports.
Your console output should indicate the start of the 3 servers:
$ node servers.js
Warming up your server at localhost:3000
Warming up your server at localhost:3001
Warming up your server at localhost:3002
Configure nginx
The default installation of nginx passes traffic to a predefined HTML file directly delivered with the installation process. Since we want nginx to load balance requests between multiple servers, we need to update the default configuration. nginx offers multiple configuration options and we’re explaining them in more detail within the next blog post. This article shows you the basic nginx configuration to enable load balancing. By default, requests are routed round-robin within the group of servers.
Now let’s update nginx’s configuration. Therefore, change into the following directory: /etc/nginx/sites-available/
Open the default nginx config as root within your editor of choice (we use nano). You need to open nginx’s config as root, because you won’t have write access without the root privileges.
sudo nano default
Delete the existing content and copy/paste the following into the default file. We’re going to describe the nginx configuration in more detail below the code block.
upstream node_cluster {
    server 127.0.0.1:3000;      # Node.js instance 1
    server 127.0.0.1:3001;      # Node.js instance 2
    server 127.0.0.1:3002;      # Node.js instance 3
}

server {
    listen 80;
    server_name yourdomain.com www.yourdomain.com;

    location / {
        proxy_set_header X-Real-IP $remote_addr;
        proxy_set_header X-Forwarded-For $proxy_add_x_forwarded_for;
        proxy_set_header Host $http_host;
        proxy_set_header X-NginX-Proxy true;

        proxy_pass http://node_cluster/;
        proxy_redirect off;
    }
}
The upstream block with name node_cluster defines the servers (including ports because we’re on localhost and need to start them on different ports) which should be available to handle requests. We’ll need this upstream block to proxy any requests internally to the Node.js mini-cluster.
If you’re familiar with nginx, you’re recognizing the server block and parts of its configuration. While listening on port 80, we route incoming traffic to the defined location. Within the location block, we need to set HTTP headers and pass the actual request to the previously defined upstream block, node_cluster.
Close and save the default file, restart nginx to publish the configuration and let’s head towards the visual testing in the browser!
Test Load Balancing
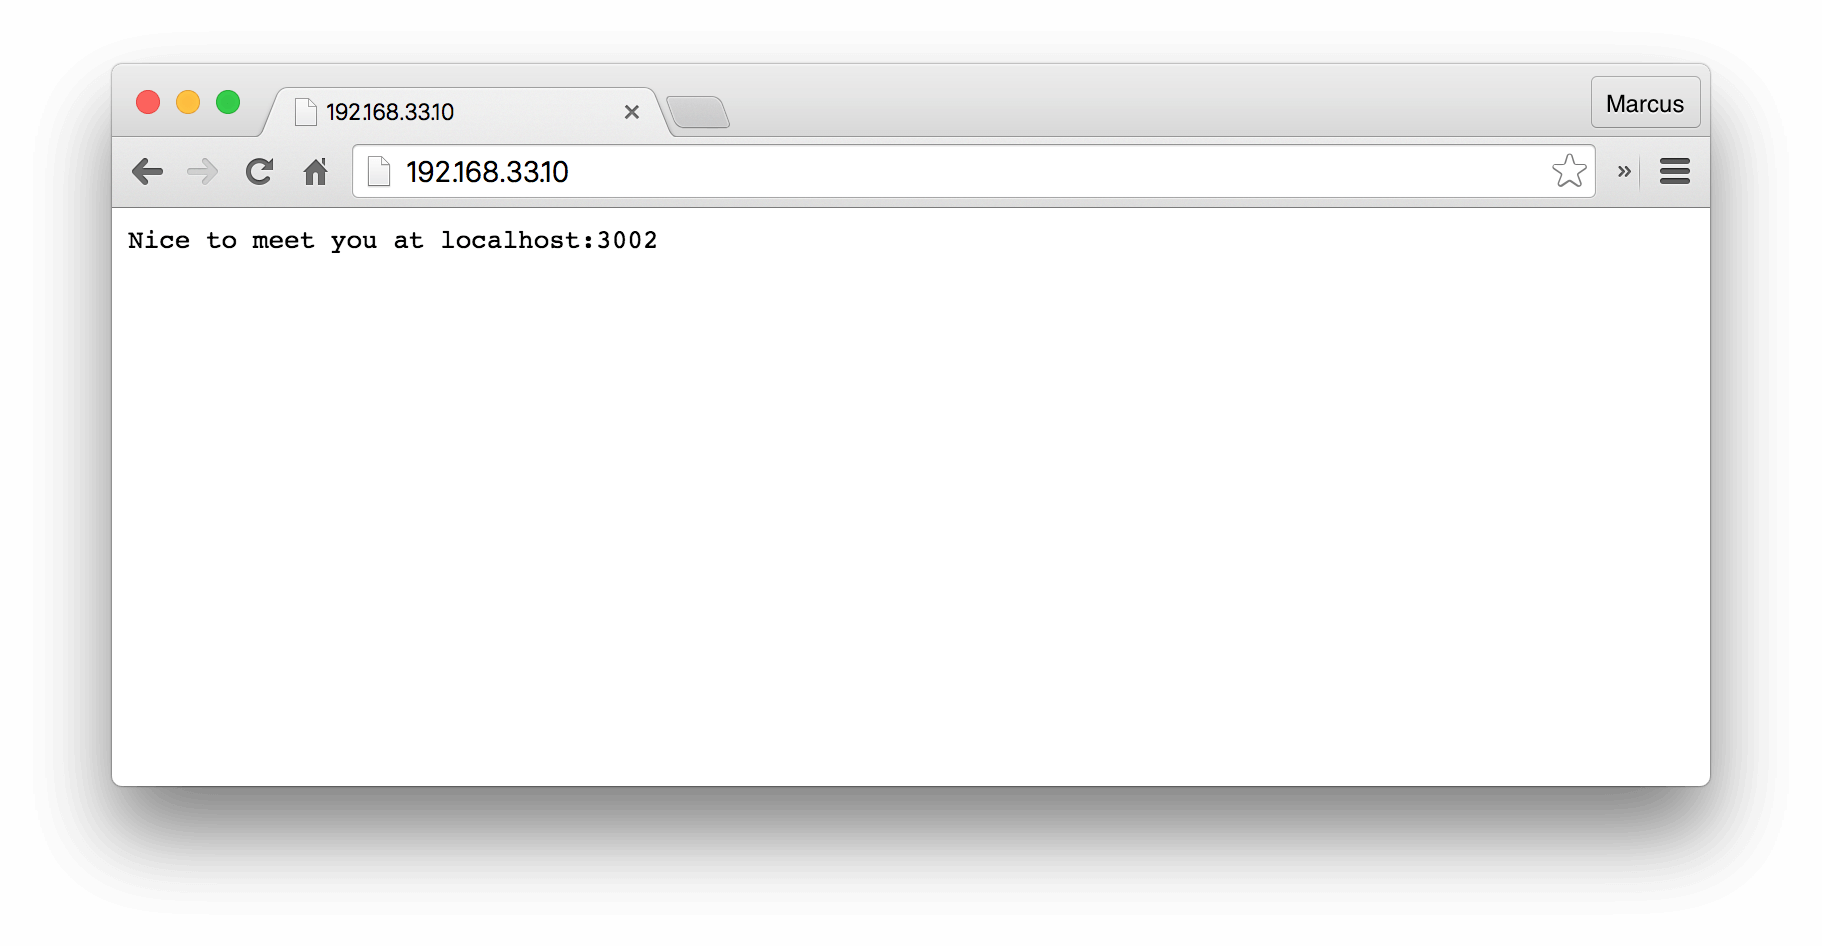
If you didn’t start or in the meantime stopped the Node.js servers, make sure they are running. On your host machine, open your favorite browser and put the private network IP of your Vagrant box into the url bar, press enter and you’re hopefully seeing a response like Nice to meet you at localhost:3000. Refresh the page multiple times to see how nginx passes the requests in round-robin style to the servers.

Outlook
You’ve learned how to set up nginx load balancing by passing requests to a predefined upstream block which includes your cluster to handle the traffic. nginx provides many more configuration options and we’re going to touch them within the next blog post. There, we’ll show you how to define various load balancing mechanisms, how to assign weights to individual servers and how to handle failover situations.
If you’re having any trouble setting nginx up for load balancing, please don’t hesitate to leave a comment or touch us @futurestud_io