
Android Studio Productivity
In the first post in our Android Quick Tips series we looked at Android's TextView class and helpers. In the second post we'll look at our centerpiece of Android programming: the Android Studio IDE.
Android Quick Tips #1 Series Overview
Android Studio is based on IntelliJ, which is a fantastic foundation for producing quality code in an efficient manner. Android Studio assists with many repetitive tasks and can you save you a ton of time, if you know how to use it. Let's look at a few productivity tips.
Android Studio Code Generator
A hopefully wide-known feature of Android Studio is Generate Code, available via Command ⌘ + N (Mac OS), or ALT + Insert (Windows).
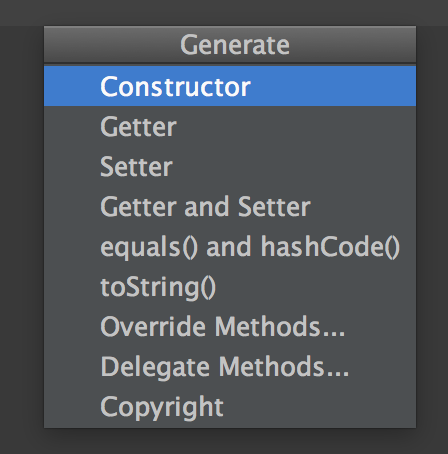
The code generator offers you multiple options, from automatically generating constructors, getters & setters, overriding methods from a parent class and more. Try every option at least once to understand what the result is and how it might help you to be more efficient.
Android Studio Code Reformat
We at Future Studio love clean and easy-to-read code. Every commit to one of our code bases should improve the quality, and not create a mess. One small, but important factor of having a clean code base is a consistent code style.
If you work in a team, agree on a code style standard before starting on a project. Once you got an agreement, apply your ideas of clean code to the Android Studio Code Style (Android Studio -> Preferences -> Code Style).
Once you've done that, you can use Reformat Code, which will apply the configured code style to your written code. Thus, even if you keep writing the code in your personal style, you can change it to the team's preference with just one click.
Shortcut: Command ⌘ + Option ⌥ + L (Mac OS X) or Ctrl + Alt + L (Windows)
Side note: if you want to look more into clean code, we highly recommend the book Clean Code: A Handbook of Agile Software Craftsmanship.
Android Studio Code Rearrange
The previous Code Reformat might sound like a pretty standard feature to you, but there is more! You can also use it in your layout XML files. It'll automatically align all elements in a standardized manner.
Especially in Android's XML files you might notice one flaw though: it formats the elements correctly, but not the parameters in the elements itself. For example, this could be a layout file for a fragment with a ListView and a floating action button:
<?xml version="1.0"encoding="utf-8"?>
<FrameLayout xmlns:android="http://schemas.android.com/apk/res/android"
             xmlns:fab="http://schemas.android.com/apk/res-auto"
             android:layout_width="match_parent"
             android:layout_height="match_parent">

    <ListView
        android:id="@+id/fragment_user_addresses_list"
        android:layout_width="match_parent"
        android:layout_height="match_parent"
        android:background="@android:color/darker_gray"
        android:divider="@android:color/darker_gray"
        android:dividerHeight="8dp"
        android:padding="8dp"/>

    <com.melnykov.fab.FloatingActionButton
        android:id="@+id/fragment_user_addresses_fab"
        android:layout_width="wrap_content"
        android:layout_height="wrap_content"
        android:layout_gravity="bottom|right"
        android:layout_margin="16dp"
        android:src="@drawable/input_add"
        fab:fab_colorNormal="@android:color/holo_red_dark"
        fab:fab_colorPressed="@android:color/holo_red_light"/>
</FrameLayout>
Code Reformat would not change anything in that file, since the XML elements are already correctly aligned. However, the parameters are a mess and confusing. Every developer will need a minute to see and understand all the elements.
That's where Code Rearrange comes in handy. It'll sort the parameters in a logical manner. Our previous example would now look likes this:
<?xml version="1.0" encoding="utf-8"?>
<FrameLayout xmlns:android="http://schemas.android.com/apk/res/android"
             xmlns:fab="http://schemas.android.com/apk/res-auto"
             android:layout_width="match_parent"
             android:layout_height="match_parent">

    <ListView
        android:id="@+id/fragment_user_addresses_list"
        android:layout_width="match_parent"
        android:layout_height="match_parent"
        android:background="@android:color/darker_gray"
        android:divider="@android:color/darker_gray"
        android:dividerHeight="8dp"
        android:padding="8dp"/>

    <com.melnykov.fab.FloatingActionButton
        android:id="@+id/fragment_user_addresses_fab"
        android:layout_width="wrap_content"
        android:layout_height="wrap_content"
        android:layout_gravity="bottom|right"
        android:layout_margin="16dp"
        android:src="@drawable/input_add"
        fab:fab_colorNormal="@android:color/holo_red_dark"
        fab:fab_colorPressed="@android:color/holo_red_light"/>

</FrameLayout>
It's minimal work, but a major difference in readability. Code Rearrange is incredibly helpful in keeping Android layout files clean. If you dislike the standard rearrange sorting, for example in case you prefer an alphabetical order, feel free to change the configuration at Android Studio Preferences -> Editor -> Code Style -> XML -> Arrangement.
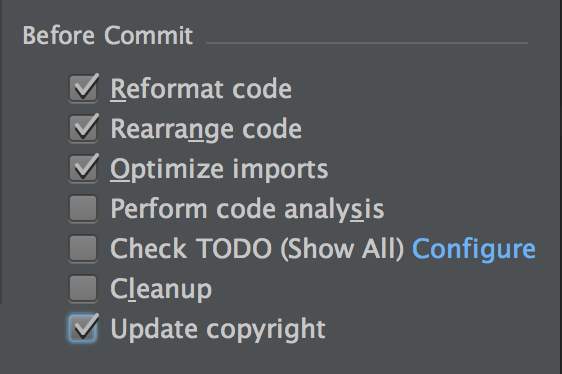
You might think that the last two tips have a significant drawback: you've to remember and manually run the code reformat & rearrange every time you change something. But that's not true. If you use the integrated VCS from Android Studio, you can check that both tools run automatically before every commit!
Android Studio Choose Color
In case you are an experienced Android developer, the previous tips probably were already ingrained in your brain. So our last tip might be something new for you: the color chooser.
In your resources you'll have one or more files for the app colors, for example:
<resources>
   <color name="switch_color">#ff4444</color>

   ...

</resources>
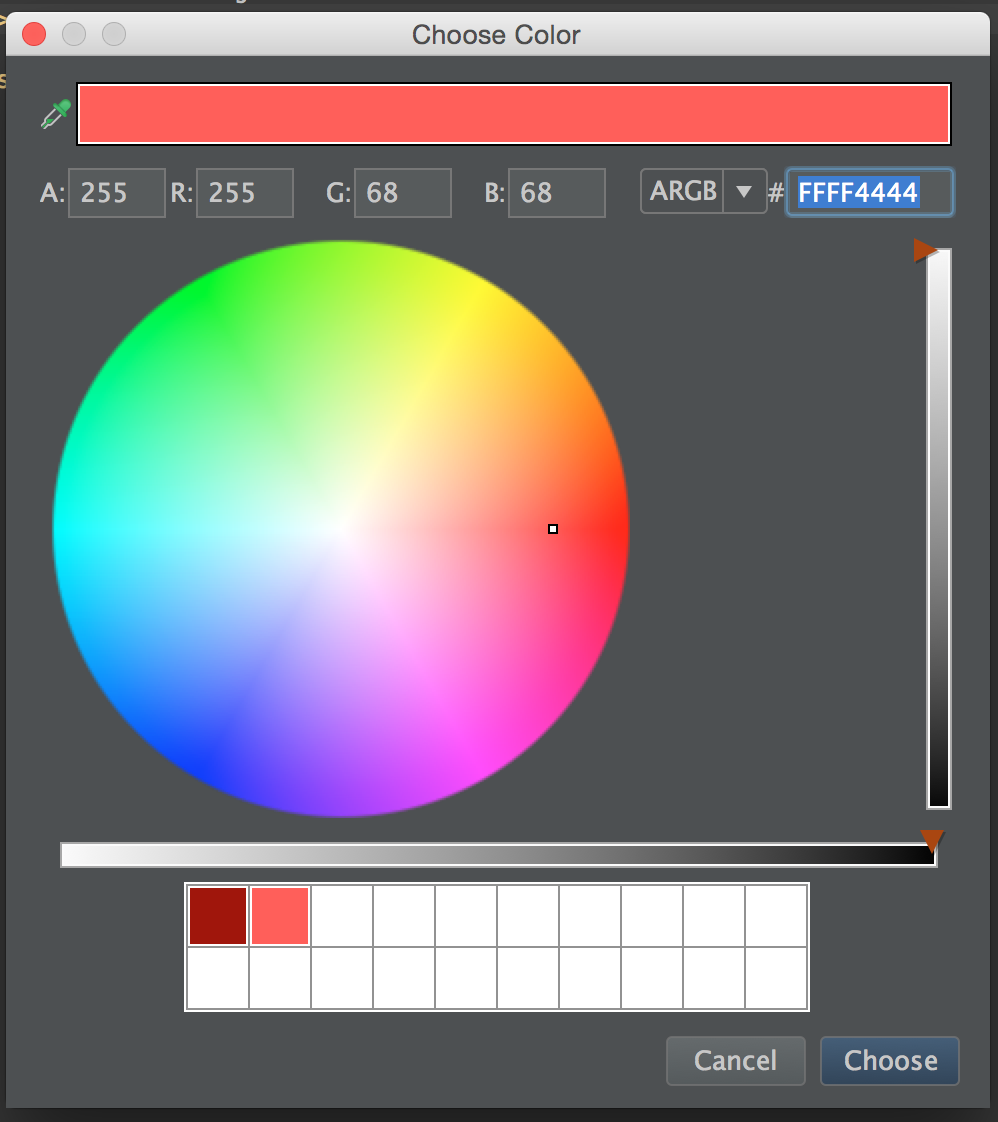
The colors are defined in HEX values, which might not everybody has memorized every value. Just click on the color preview on the left of your values and Android Studio will open the color chooser. The color chooser gives you a general helper to choose, convert and extract HEX values.
Conclusion
As with programming, you should never stop learning and improving your IDE skills. Android Studio gives you further advice at Help -> Productivity Guide.
What's your favorite productivity trick and should we include in our next post? Let us know in the comments!