In today's competitive app market on Google Play, a beautiful, polished app is necessary to be successful. Custom fonts are an important element of taking an app to the next level and distinct yourselves from the mass. We discussed this in our first tutorials on how to implement custom fonts on Android more than three years ago.
A lot has changed in the last few years and custom fonts on Android got easier and more efficient. In this short tutorial series we'll bring you up-to-date with the modern ways of implementing custom fonts on Android.
Custom Fonts on Android Series Overview
Custom Fonts on Android (Renewed)
The modern way is based on Android's support libraries and thus only supports Android 4.1 and newer. If you still need to support older version you'll have to fall back to our old tutorials.
For the purpose of this and the upcoming tutorials, we'll be using the Noto Serif family. Of course, you can chose any other font you would like. Some parts in the next tutorials will be easier when your chosen font is available on Google Fonts, but more on that later.
Provide Font as Resource
As the first step, you need to provide your chosen font as a resource to our app project. If the directory res/font doesn't exist yet, create it:
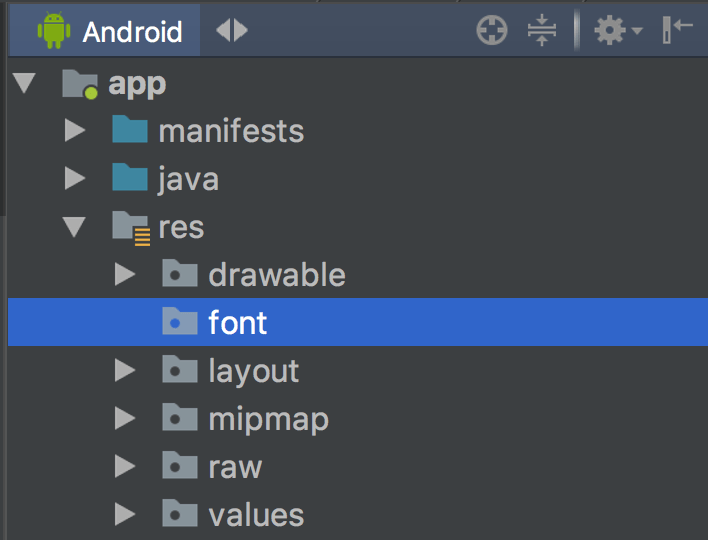
Next, paste in the downloaded .ttf file(s) into the new font directory. Please keep in mind that the file names can only contain lowercase characters and underscores:

If you use an entire family (such as regular, bold, italic), paste the files separately into the directory (like we've done in the screenshot above).
That's everything! Now you can access the fonts as a resource in your Android app. In the next section, we show a short example.
Example Usage
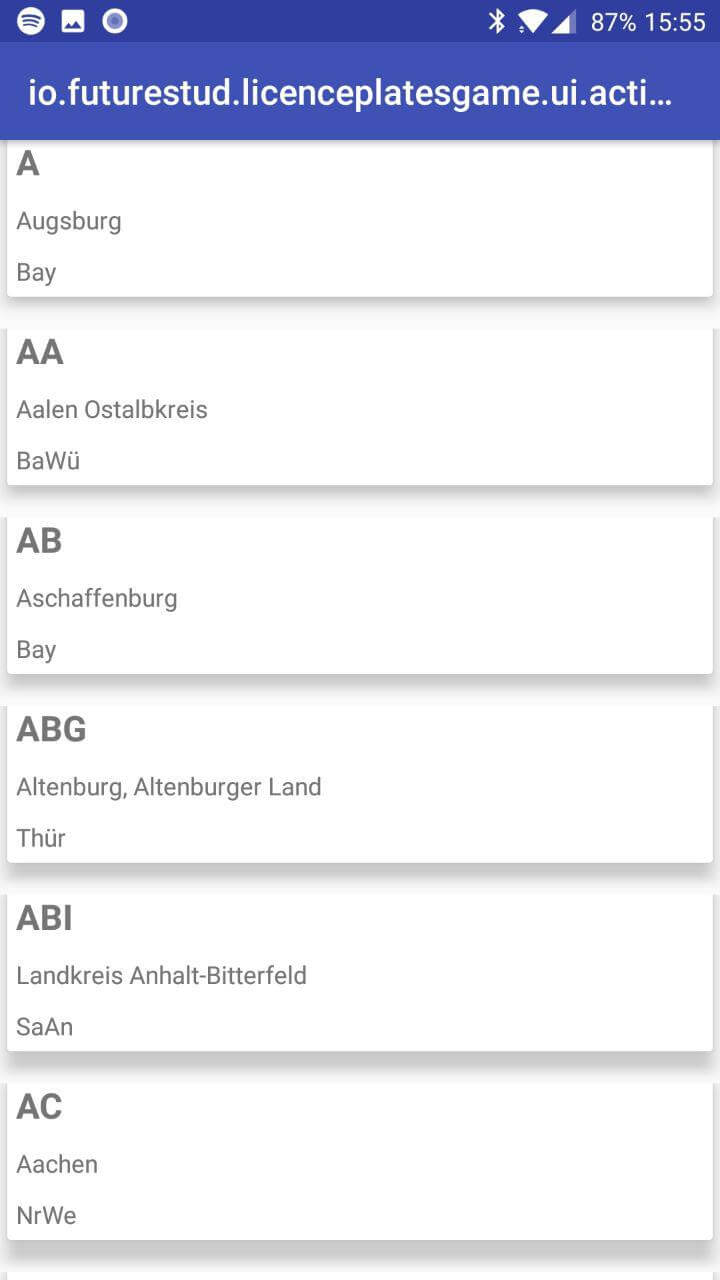
Above you see a screenshot of an example app, which will be the base for a large learning path we're currently working on. As you probably already spotted, the fonts are the default Roboto fonts.
Let's apply our added Noto Serif family to this view. For the header, we would like to use Noto Serif bold and for the county TextView in the center we would like to use Noto Serif italic.
Because you've added the fonts as resource, you can set it directly on our TextView:
<TextView
    android:id="@+id/recyclerview_item_header"
    android:layout_width="match_parent"
    android:layout_height="match_parent"
    android:layout_margin="5dp"
    android:fontFamily="@font/noto_serif_bold"
    android:gravity="center_vertical"
    android:text="Licence Plate"
    android:textSize="20sp"
    android:textStyle="bold"/>

<TextView
    android:id="@+id/recyclerview_item_description"
    android:layout_width="match_parent"
    android:layout_height="match_parent"
    android:layout_margin="5dp"
    android:gravity="center_vertical"
    android:fontFamily="@font/noto_serif_italic"
    android:text="Here could be the county"
    android:textSize="14sp"/>
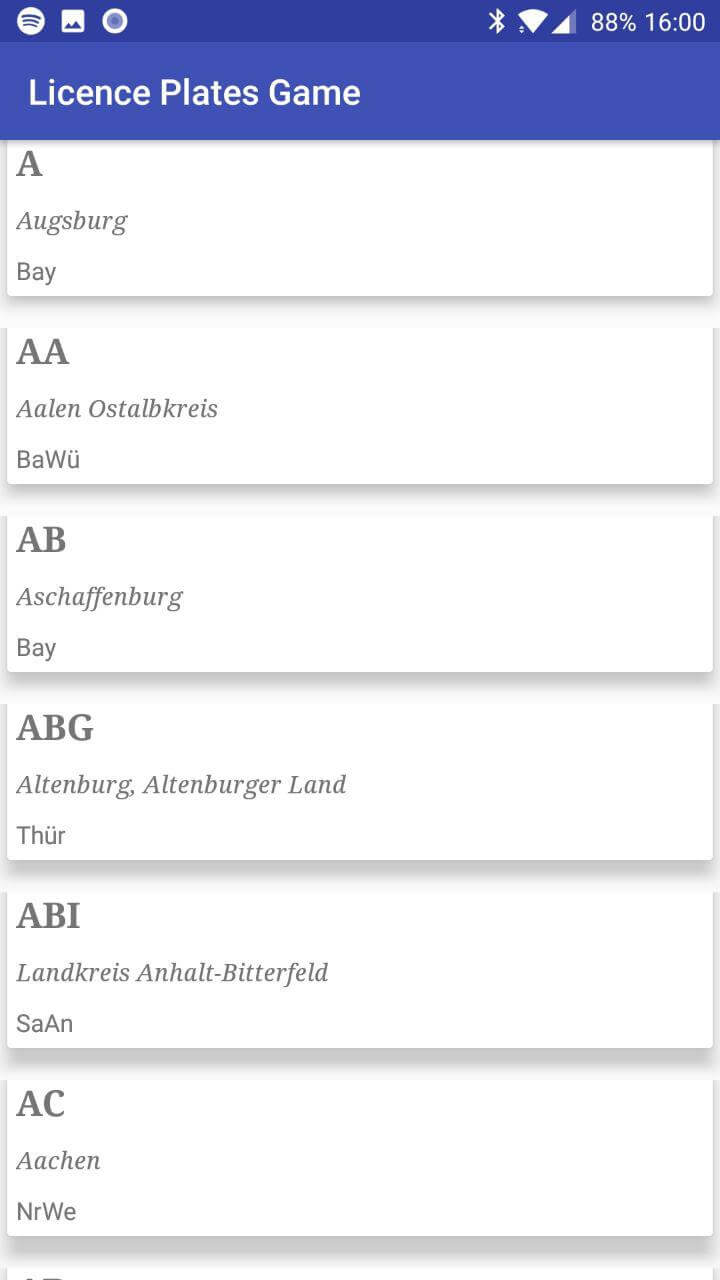
Enjoy the new fonts after restarting your app:
Outlook
In this tutorial, you've learned how to implement custom fonts on Android the modern way.
However, currently the implementation has one huge drawback. You always have to specifically state which font style of a family you want to use. This means it's impossible to customize the style for example via android:textStyle="bold".
In the next tutorial, you'll change the configuration to one font family with four styles instead of four independent fonts. Once you've done that, android:textStyle="bold" will be useful again.
Do you have comments or further questions on this topic? Let us know on Twitter @futurestud_io or leave a comment below.
Enjoy coding & make it rock!