This is the last post in our custom font series. So far, we've looked at various topics for custom fonts on Android. We've seen how to apply different font styles, how to configure things directly in XML and how we can vary settings with build variants. This last post will take a dive into different standard views on Android and how we can apply custom fonts at these elements.
If you need to refresh your memory with our old content in this series, take a look at the previous posts:
Custom Fonts on Android Series Overview
Buttons, EditTexts, Switches and More
If you are interested in taking your branding to the next level with applying the custom fonts to other UI elements, besides TextViews, you'll need a solution to do these to all major UI elements. If you take a peek at the TextView class on the Android documentation, you'll see that a lot of UI classes inherit from TextView.
All of these also inherit the setTypeface() method, which we require to apply custom fonts. Thus, it's really easy for us to do the implementation for all of them. For example, custom fonts on a Button would look like this:
public class CustomFontButton extends Button {

    public CustomFontButton(Context context) {
        super(context);

        CustomFontUtils.applyCustomFont(this, context, null);
    }

    public CustomFontButton(Context context, AttributeSet attrs) {
        super(context, attrs);

        CustomFontUtils.applyCustomFont(this, context, attrs);
    }

    public CustomFontButton(Context context, AttributeSet attrs, int defStyle) {
        super(context, attrs, defStyle);

        CustomFontUtils.applyCustomFont(this, context, attrs);
    }
}
We're just calling our previous helper methods defined in CustomFontUtils and do not need any further modifications. You could implement this for all the inherited UI classes the same way by simply calling:
CustomFontUtils.applyCustomFont(this, context, attrs);
Lastly, you just need to add the class to your layout file:
        android:layout_width="wrap_content"
        android:layout_height="wrap_content"
        android:layout_margin="12dp"
        android:text="Future Studio Blog"
        android:textSize="18sp"
        android:textStyle="bold"
        app:font="@string/font_name_source_sans_pro"/>
xml
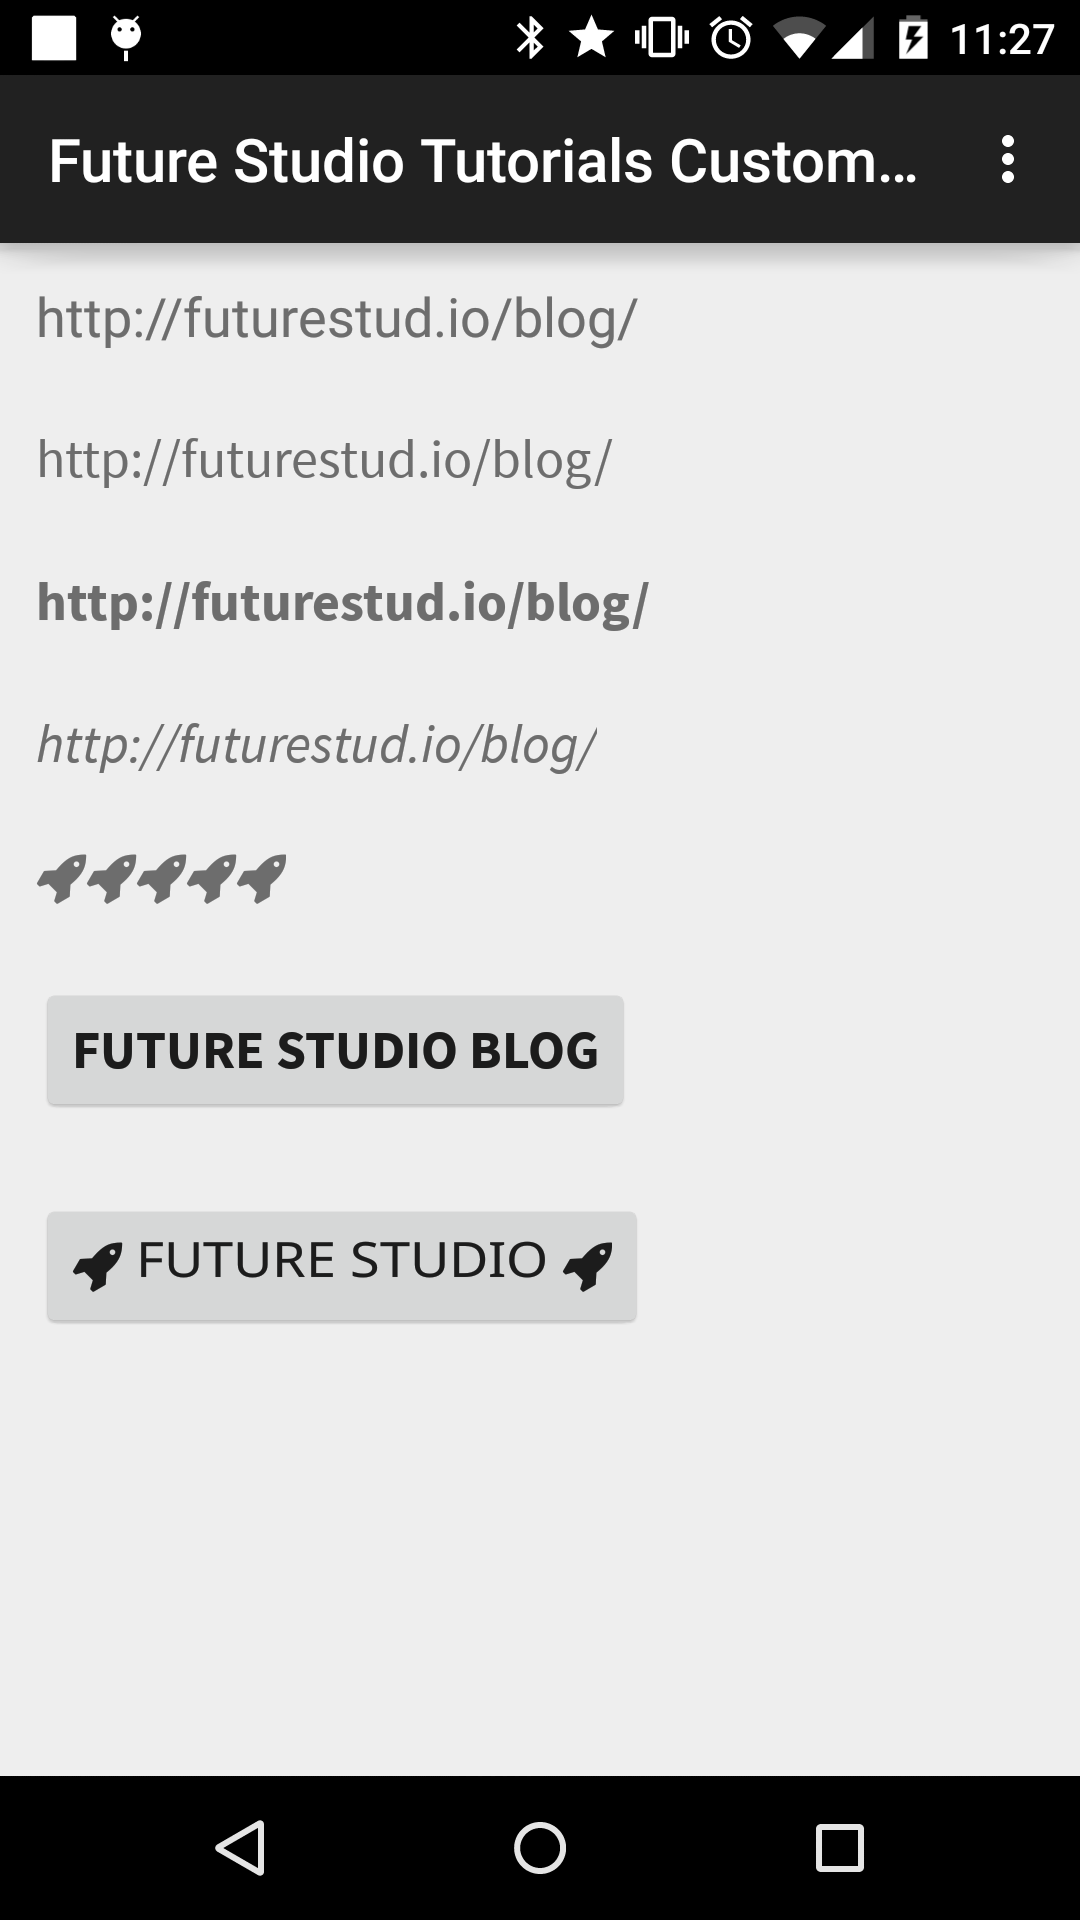
You're done! Let's look at an enhanced version of our example activity:

Finishing Up
We hope you learned a lot in this series. It should make polishing your apps with custom fonts much easier without sacrificing your code quality. For us, it provides a straight-forward way to include pretty fonts in an easy way for TextViews, Buttons and more.
Since this is the last planned post in this series, we'll happy to hear from you. What did you like? What is missing? Let us know in the comments or on Twitter @futurestud_io.