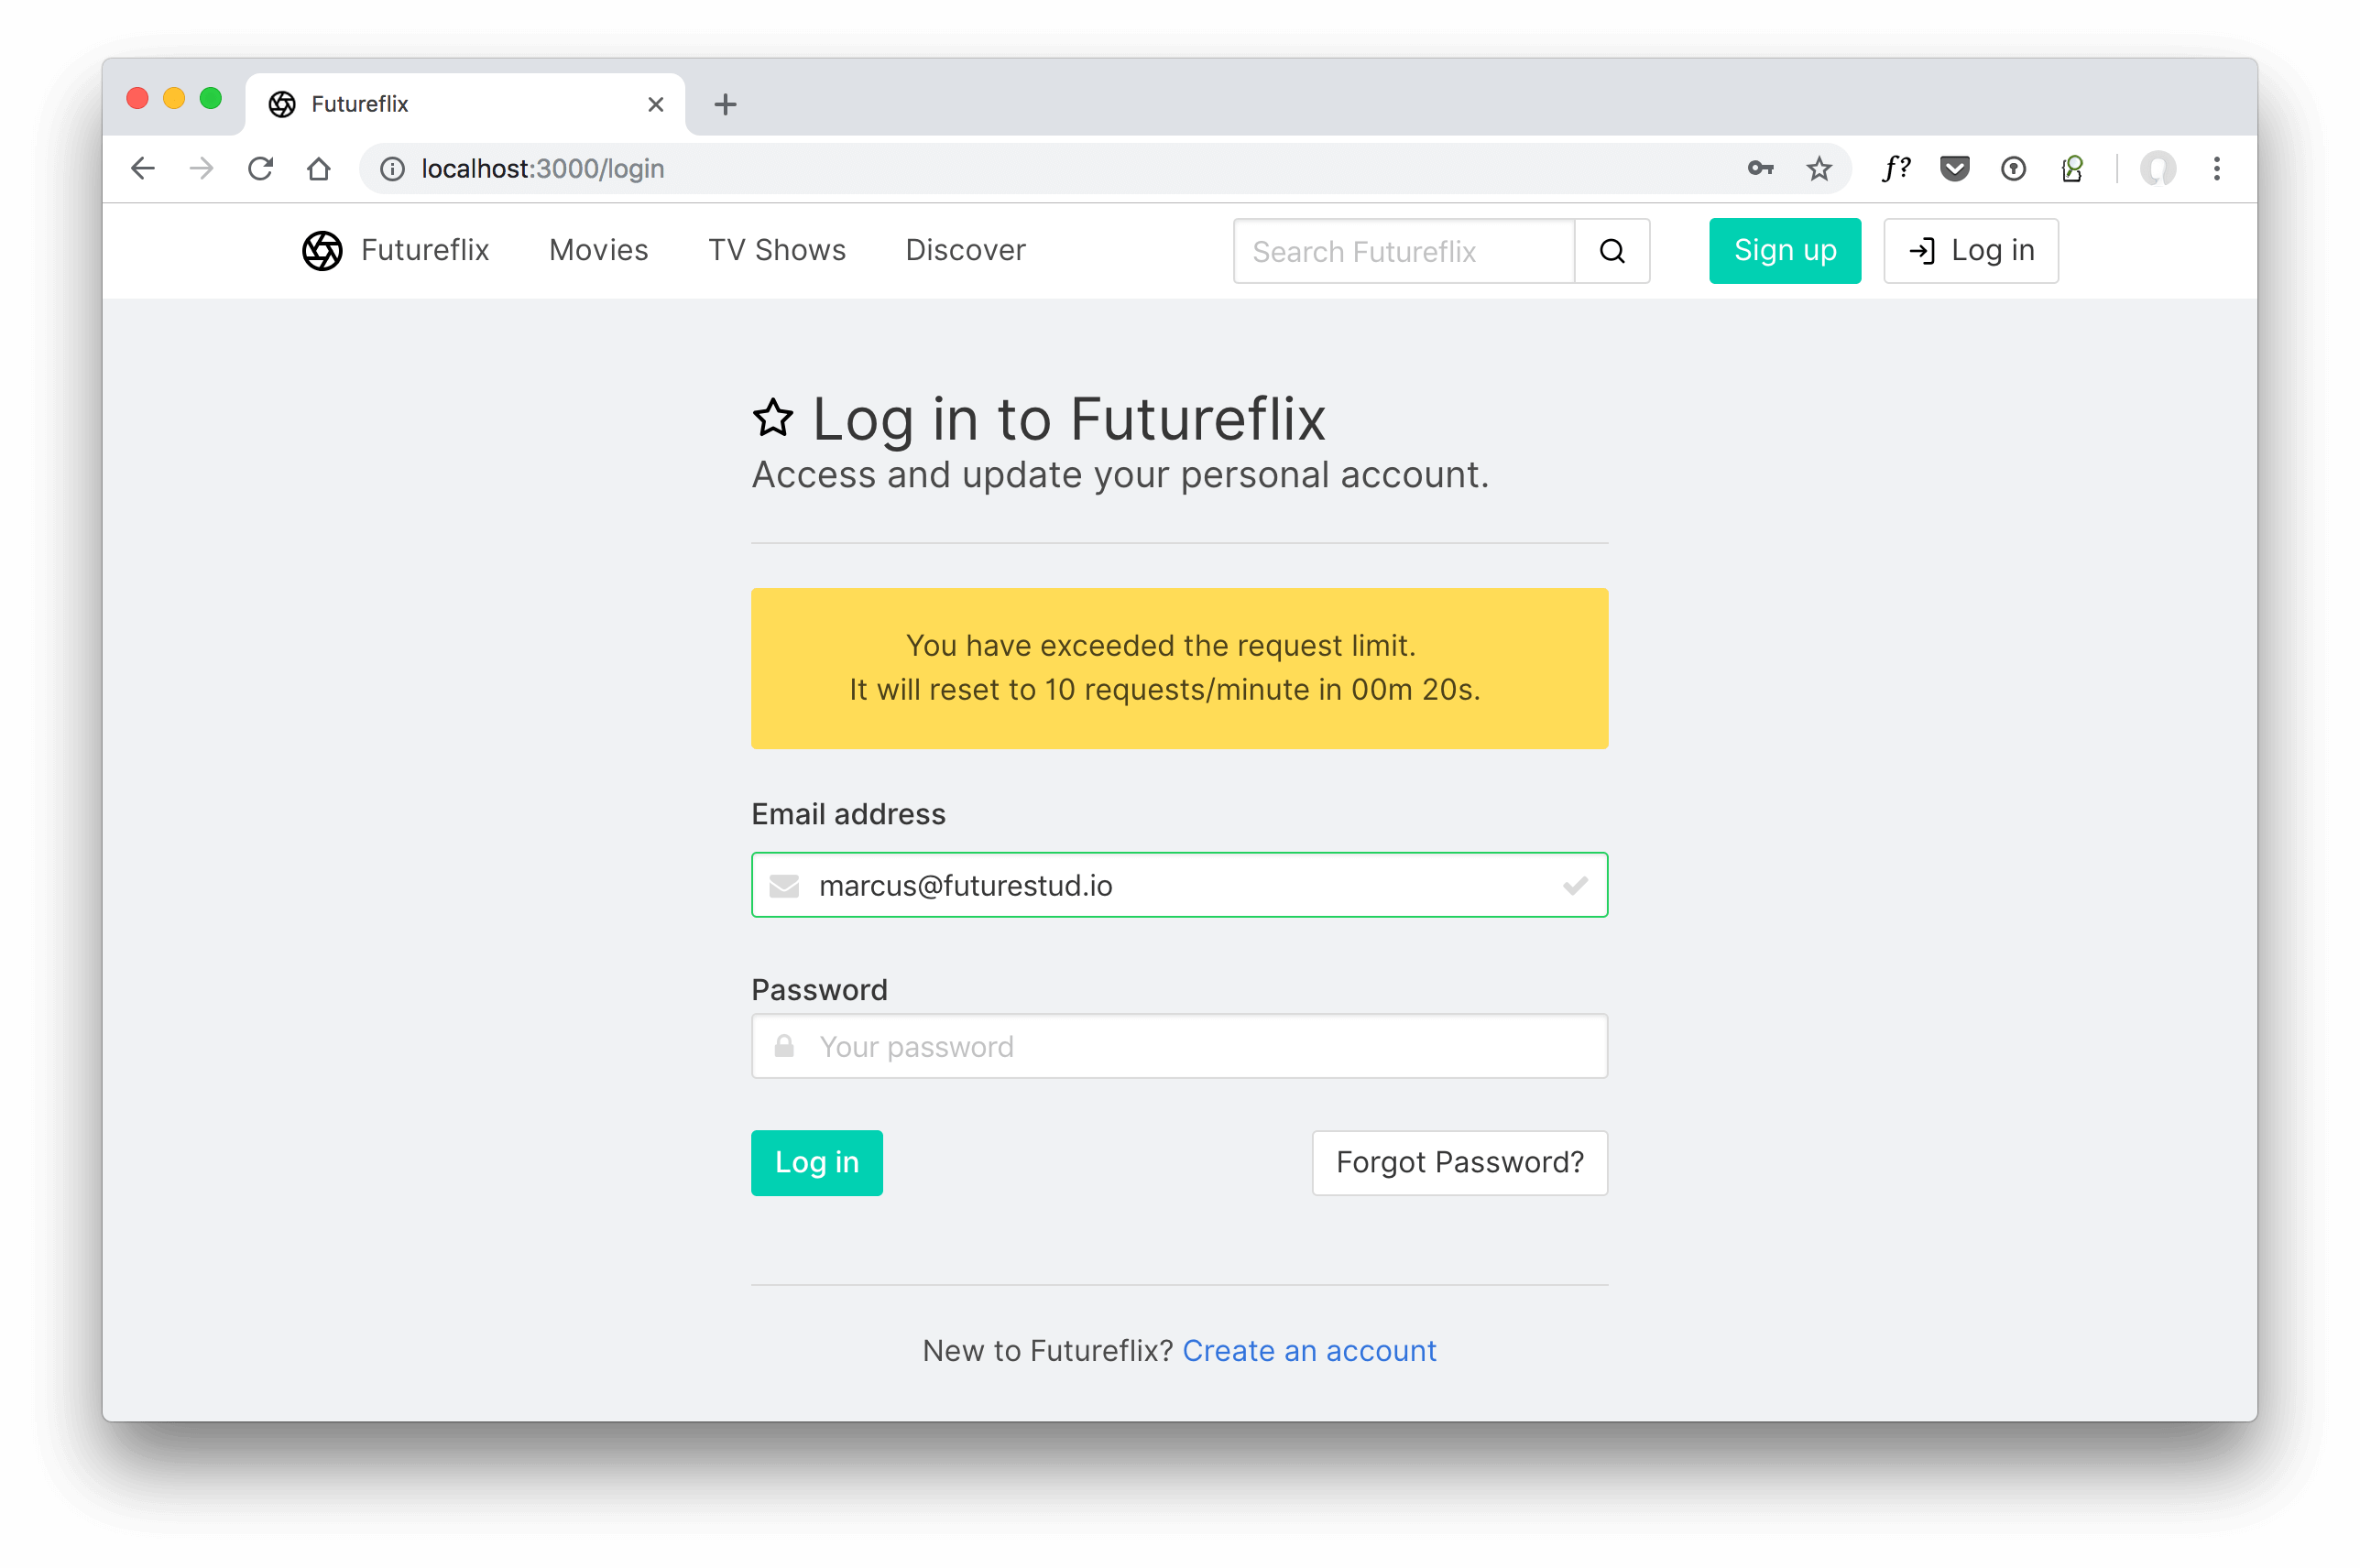
Introducing the rate limiter into your web application brings security benefits, but requires extra work to integrate it smoothly. In the previous tutorial, you added support to render a “rate limit exceeded” web view instead of sending a JSON response.
The web view to show an exceeded limit was dragging the user out of context from the actual request. Users see a different view than before. They were clicking a button and reloading the page will show them the “rate limit exceeded” view than the view they were expecting.
This is what you’ll change by following this tutorial. If a user runs into the rate limit on login, you’ll render the login view and display the “rate limit exceeded” error message.
In case you need a glimpse on the complete package code: it’s available on GitHub in the hapi-rate-limitor repository and on NPM at hapi-rate-limitor.
hapi Series Overview
- What You’ll Build
- Prepare Your Project: Stack & Structure
- Environment Variables and Storing Secrets
- Set Up MongoDB and Connect With Mongoose
- Sending Emails in Node.js
- Load the User’s Profile Picture From Gravatar Using Virtuals in Mongoose
- Implement a User Profile Editing Screen
- Generate a Username in Mongoose Middleware
- Displaying Seasons and Episodes for TV Shows with Mongoose Relationship Population
- Implementing Pagination for Movies
- Implement a Watchlist
- Create a Full Text Search with MongoDB
- Create a REST API with JSON Endpoints
- Update Mongoose Models for JSON Responses
- API Pagination for TV Shows
- Customize API Endpoints with Query Parameters
- Always Throw and Handle API Validation Errors
- Advanced API Validation With Custom Errors
- Create an API Documentation with Swagger
- Customize Your Swagger API Documentation URL
- Describe Endpoint Details in Your Swagger API Documentation
- 10 Tips on API Testing With Postman
- JWT Authentication in Swagger API Documentation
- API Versioning with Request Headers
- IP-Based Rate Limits (Part 1 of 7)
- Rate Limits for Routes (Part 2 of 7)
- Dynamic Rate Limits (Part 3 of 7)
- Render a “Rate Limit Exceeded” View (Part 4 of 7)
- Show “Rate Limit Exceeded” Error on Login (Part 5 of 7)
- Disable Rate Limiting (Part 6 of 7)
- Rate Limiter Refactoring & Cleanup (Part 7 of 7)
- API Login With Username and Password to Generate a JWT
- JWT Authentication and Private API Endpoints
- Refresh Tokens With JWT Authentication
- Create a JWT Utility
- JWT Refresh Token for Multiple Devices
- Check Refresh Token in Authentication Strategy
- Rate Limit Your Refresh Token API Endpoint
- How to Revoke a JWT
- Invalidate JWTs With Blacklists
- JWT Logout (Part 1/2)
- JWT “Immediate” Logout (Part 2/2)
- A Better Place to Invalidate Tokens
- How to Switch the JWT Signing Algorithm
- Roll Your Own Refresh Token Authentication Scheme
- JWT Claims 101
- Use JWT With Asymmetric Signatures (RS256 & Co.)
- Encrypt the JWT Payload (The Simple Way)
- Increase JWT Security Beyond the Signature
- Unsigned JSON Web Tokens (Unsecured JWS)
- JWK and JWKS Overview
- Provide a JWKS API Endpoint
- Create a JWK from a Shared Secret
- JWT Verification via JWKS API Endpoint
- What is JOSE in JWT
- Encrypt a JWT (the JWE Way)
- Authenticate Encrypted JWTs (JWE)
- Encrypted and Signed JWT (Nested JWT)
- Bringing Back JWT Decoding and Authentication
- Bringing Back JWT Claims in the JWT Payload
- Basic Authentication With Username and Password
- Authentication and Remember Me Using Cookies
- How to Set a Default Authentication Strategy
- Define Multiple Authentication Strategies for a Route
- Restrict User Access With Scopes
- Show „Insufficient Scope“ View for Routes With Restricted Access
- Access Restriction With Dynamic and Advanced Scopes
- hapi - How to Fix „unknown authentication strategy“
- Authenticate with GitHub And Remember the Login
- Authenticate with GitLab And Remember the User
- How to Combine Bell With Another Authentication Strategy
- Custom OAuth Bell Strategy to Connect With any Server
- Redirect to Previous Page After Login
- How to Implement a Complete Sign Up Flow With Email and Password
- How to Implement a Complete Login Flow
- Implement a Password-Reset Flow
- Views in hapi 9 (and above)
- How to Render and Reply Views
- How to Reply and Render Pug Views (Using Pug 2.0)
- How to Create a Dynamic Handlebars Layout Template
- Create and Use Handlebars Partial Views
- Create and Use Custom Handlebars Helpers
- Specify a Different Handlebars Layout for a Specific View
- How to Create Jade-Like Layout Blocks in Handlebars
- Use Vue.js Mustache Tags in Handlebars Templates
- How to Use Multiple Handlebars Layouts
- How to Access and Handle Request Payload
- Access Request Headers
- How to Manage Cookies and HTTP States Across Requests
- Detect and Get the Client IP Address
- How to Upload Files
- Quick Access to Logged In User in Route Handlers
- How to Fix “handler method did not return a value, a promise, or throw an error”
- How to Fix “X must return an error, a takeover response, or a continue signal”
- Query Parameter Validation With Joi
- Path Parameter Validation With Joi
- Request Payload Validation With Joi
- Validate Query and Path Parameters, Payload and Headers All at Once on Your Routes
- Validate Request Headers With Joi
- Reply Custom View for Failed Validations
- Handle Failed Validations and Show Errors Details at Inputs
- How to Fix AssertionError, Cannot validate HEAD or GET requests
